There is a specific kind of frustration that comes from having a clear idea for a web app and no fast way to turn it into something real. Hiring a developer takes weeks and costs significant money before you know if the idea works. Learning to code takes months before you can build anything meaningful. No-code drag-and-drop builders produce results that look like no-code drag-and-drop builders.
Bolt.new sits in a different category entirely. It is an AI-powered app builder that generates complete websites, web apps, and mobile apps from a single prompt — you describe what you want in plain language, and Bolt generates a full-stack application, frontend, backend, and everything in between.
This guide is a practical, step-by-step walkthrough of how to use Bolt.new to go from an idea to a deployed, shareable web application in under an hour. No installation required. No local development environment. Just a browser, a clear idea, and the right prompting approach.
What Bolt.new Actually Is in 2026
Before getting into the steps, it helps to understand what you're working with.
Bolt.new is an AI development platform built on StackBlitz's WebContainers technology — a browser-based IDE that runs a real Node.js environment entirely in your browser. It integrates AI agents with a live runtime environment to handle everything from frontend UI to backend logic and database setup, and it's open-source.
In 2026, Bolt.new runs on Claude Opus 4.6 with adjustable reasoning depth, supports Figma import — dropping designs directly into chat to build with visual reference in real time — and includes AI image editing directly inside the chat interface.
The combination of prompt-based generation, Supabase integration, and instant deployment creates a workflow that genuinely compresses the build cycle from days to hours — or even minutes for simpler projects.
What makes Bolt different from a simple code generator is the live environment. You don't just get code — you get a running application you can interact with, test, and modify in real time, all inside your browser.
Understanding the Token System Before You Start
Bolt uses a token-based pricing model. The free plan includes 1 million tokens per month with a daily cap of 150,000 tokens. The Pro plan costs $25 per month with 10 million tokens, token rollover, custom domains, and no Bolt branding. The Teams plan is $30 per member per month.
Tokens are consumed every time the AI generates or modifies code. Larger projects and more complex prompts use more tokens per interaction.
Bolt offers three modes to manage token usage: Build mode updates code with every prompt and uses the most tokens. Plan mode discusses approach without changing code and uses fewer tokens. Discussion mode is pure conversation with no code changes and uses the fewest tokens.
Practical advice: Use Discussion mode when you're brainstorming and refining your idea. Switch to Plan mode to confirm the approach before committing. Only switch to Build mode when you're ready for the AI to actually write code. This discipline alone can extend your free plan significantly.
Paid plan tokens roll over for one additional month, making them valid for up to two months total.
For a first project under an hour, the free plan is sufficient for a simple to medium-complexity prototype.
Step 1: Go to Bolt.new and Sign In
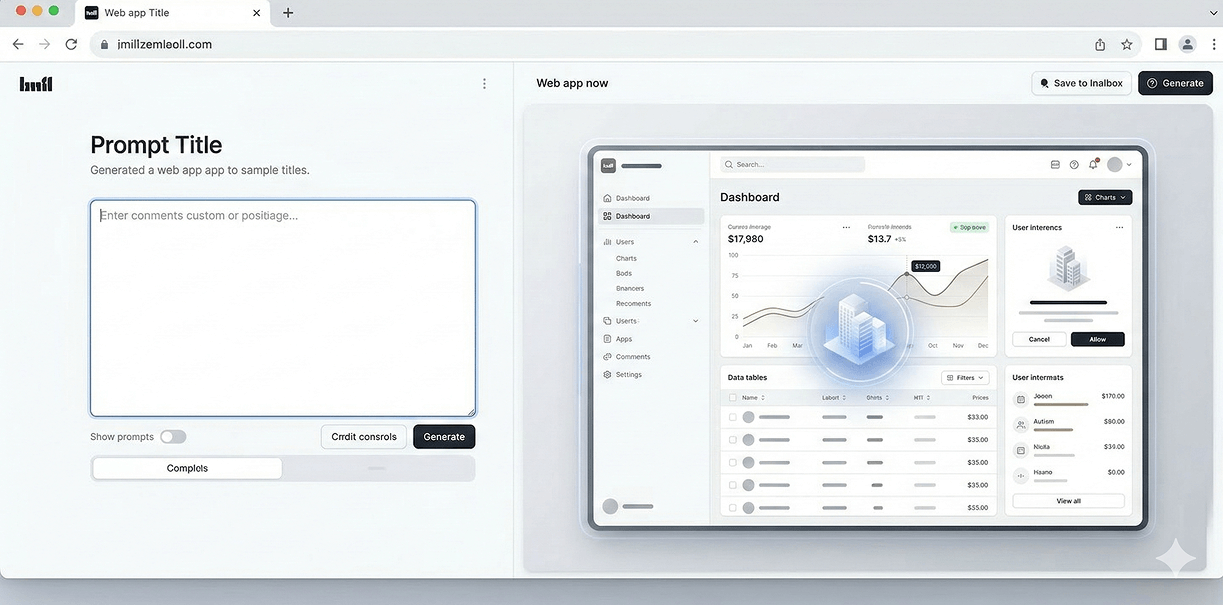
Open your browser and go to bolt.new. You'll land directly on the prompt interface — no installation, no setup, no local environment required.
Click Sign In in the top right corner. You can sign in with GitHub, Google, or an email account. GitHub is recommended if you plan to export your code later — it makes the connection between Bolt and your repositories seamless.
Once signed in, you'll see your dashboard showing any previous projects and your current token usage at the bottom of the screen. Keep an eye on this meter throughout your session.
Step 2: Define Your App Before You Prompt
The single most important factor in getting good output from Bolt.new is the quality of your initial prompt. A vague prompt produces vague results. A specific, detailed prompt produces something close to what you actually need.
Before typing anything into Bolt, spend five minutes answering these questions clearly:
- What does the app do? (One sentence)
- Who is it for?
- What are the three to five core features it must have?
- What should it look like? (Minimal, bold, corporate, friendly?)
- Does it need a database or user accounts?
- What pages or screens does it need?
Write your answers down. You're going to turn these into your first prompt.
Example of a weak prompt:
Example of a strong prompt:
The second prompt gives the AI enough context to make good decisions without requiring you to specify every minor detail. That balance — clear intent, key constraints, room for sensible defaults — is what produces the best Bolt output.
Step 3: Write Your First Prompt and Let Bolt Build
Type your prepared prompt into the main input field on the Bolt.new homepage and press Enter.
Watch what happens next. Bolt will:
- Parse your prompt and plan the application structure
- Generate all the necessary files — components, pages, API routes, database schemas
- Install dependencies automatically in the browser environment
- Run the application and show you a live preview on the right side of the screen
Bolt accepts inputs as text, images, Figma files, and GitHub repositories, then scaffolds a full-stack web app in real time. Customization happens across three layers: prompt-based changes, a visual preview editor, and direct code access inside the browser IDE.
For a medium-complexity app like the booking example above, this initial generation typically takes between 60 and 120 seconds. When it finishes, you'll have a working, interactive application running in the preview panel.
Interact with it immediately. Click through the flows. Try the form. Check every page. Note what works and what needs adjustment — you'll address these in the next step.
Step 4: Refine With Follow-Up Prompts
Your first generation is rarely the finished product — and it shouldn't be. Think of it as a very fast first draft. The refinement process is where Bolt's real speed advantage compounds.
Rather than making one large prompt that tries to address everything at once, work through refinements one area at a time. This uses tokens more efficiently and gives the AI a clearer target for each change.
Structural changes first:
Design refinements next:
Functionality additions after:
Work through your list of refinements systematically. After each change, interact with the preview to verify it works before moving to the next one.
Step 5: Connect Your Database With Supabase
If your app needs to store data — bookings, user accounts, form submissions, product listings — you'll want to connect it to a real database rather than relying on in-memory storage that resets when the session ends.
Bolt includes built-in database management directly within Bolt Cloud, and also supports connecting to Supabase for richer configuration options, scalable storage, and custom backend logic.
Setting up Supabase:
- Go to supabase.com and create a free account
- Create a new project — choose a name, set a database password, and select the region closest to your users (for UAE businesses, choose Frankfurt or Mumbai as the nearest available)
- Once your project is created, go to Settings > API and copy your Project URL and anon/public key
- Back in Bolt, open the chat and type:
Bolt will update your application to use Supabase for all data storage, create the database schema, and configure the connection. Test the booking form again — submissions should now persist in your Supabase dashboard under Table Editor.
Step 6: Import From Figma (If You Have Designs)
One of Bolt's most useful 2026 features is Figma import — you can drop Figma designs directly into the chat to build with visual reference in real time.
If you or your designer has created mockups in Figma, this feature dramatically closes the gap between design intent and built output.
How to use Figma import:
- In Figma, select the frame or page you want to import
- Use File > Share and copy the share link, or export as an image
- In Bolt's chat, click the attachment icon and paste your Figma link or upload the exported image
- Type:
Bolt will analyse the design and rebuild the component to match. The result won't be pixel-perfect on the first pass, but it gets you significantly closer to the intended design than prompting from a text description alone.
Step 7: Test Thoroughly Before Deploying
Before deploying anything publicly, spend ten minutes testing every flow in the preview panel.
Test checklist:
- Does every page load without errors?
- Do all forms validate correctly — try submitting with empty fields, invalid email addresses, and unusual inputs
- Does data save to the database correctly — check your Supabase dashboard to confirm
- Does the app look correct on mobile — use your browser's device simulation (F12 > toggle device toolbar) to check iPhone and Android sizes
- Do confirmation emails send correctly — check your inbox and spam folder
- Does the admin view show data correctly?
Note any issues and address them with targeted follow-up prompts before moving to deployment.
Step 8: Deploy Your App Live
All paid Bolt plans include custom domains and built-in hosting through Bolt Cloud. Deploying is a single click.
Deploying on a paid plan:
Click the Deploy button in the top right of the Bolt interface. Your app will be assigned a .bolt.app URL immediately. To connect your own domain, go to your project settings, add your domain, and update your DNS records to point to Bolt's servers.
Deploying to Netlify (free option): If you're on the free Bolt plan and want a public URL, you can deploy to Netlify directly from Bolt:
- Click the Share or Export option in Bolt
- Choose Deploy to Netlify
- Authorise Netlify with your GitHub account
- Your app deploys in under a minute and receives a
[project-name].netlify.appURL
To connect a custom domain on Netlify, go to your site settings in the Netlify dashboard, add your domain under Domain Management, and update your DNS records accordingly.
Step 9: Export to Cursor for Production Refinement
For long-term production development, pair Bolt with a proper IDE for the maintenance phase. Many teams use Bolt for rapid prototyping and initial build, then export to Cursor for detailed code refinement, performance optimisation, and ongoing development.
Exporting your Bolt project:
- In Bolt, click the menu icon and select Download Project or Export to GitHub
- If exporting to GitHub, a new repository will be created in your connected account with all your project files
- Open Cursor, clone the repository, and continue development with Cursor's full IDE capabilities
This handoff workflow — Bolt for speed, Cursor for depth — is how professional teams get the best of both tools. Bolt removes the overhead of project setup and initial scaffolding. Cursor handles the detailed, production-quality work that complex applications require.
What Bolt.new Is Best For — and Where Its Limits Are
Bolt.new is strongest when speed matters more than perfection. It shines in early-stage building, rapid experimentation, and situations where you need a working product fast and refinement is an afterthought.
Use Bolt for:
- Validating an idea before investing in full development
- Building internal tools and dashboards quickly
- Creating client prototypes for feedback before the real build begins
- Spinning up MVPs for testing with real users
- Building simple to medium-complexity applications end to end
Be realistic about its limits for:
- Large-scale applications with complex business logic
- Applications requiring heavy custom backend architecture
- Projects where every line of code needs to be reviewed and understood
- Long-term production systems where maintainability is critical
The weak spots are predictable for any AI builder in 2026: complex logic still needs a human, the free tier pushes you to pay quickly, and generated code isn't always production-quality.
The Honest Bottom Line
An hour is a genuine estimate for a simple to medium-complexity web app using Bolt.new — if you come in with a clear idea, a well-constructed first prompt, and a systematic approach to refinement. More complex applications will take longer, but the speed advantage over traditional development remains significant regardless of scope.
The tool that used to require weeks of development, thousands of dirhams in developer fees, and a lengthy back-and-forth to get right is now something you can prototype, test, refine, and deploy in an afternoon. That changes the economics of building digital products in meaningful ways — particularly for UAE businesses that want to validate ideas quickly before committing to full production builds.
The idea is yours. Bolt handles the rest.

Need a working prototype fast — or a production-ready web app built properly?
At Joyboy, we use the latest AI-native development tools including Bolt.new and Cursor to build and ship web applications faster than traditional workflows allow — without cutting corners on quality. Talk to us about your project.